Parametric weaving

The algorithm
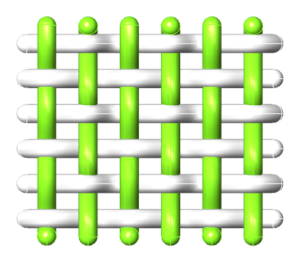
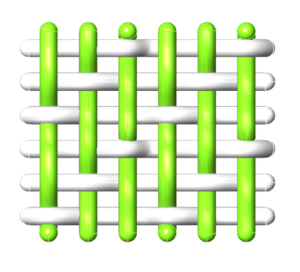
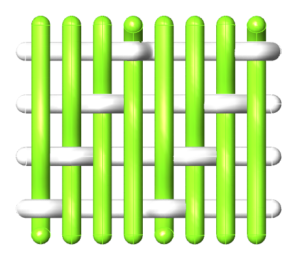
The weaving is the result of interlacing the fabric yarns that are placed in the direction of the fabric length (warp) by yarns that follow the direction of the fabric width (weft). Three fundamental types are distinguished in the traditional textile business:
- plain weave – obtained by lifting alternately the even or the uneven yarns of the warp to give path to the weft yarn
- twill weave – when each time the warp yarns pass two weft yarns from each side and characterized by the presence of diagonal ribs on the front and flat ribs on the reverse side
- satin weave – each time the warp yarns cross more than two weft yarns and then interlace with only one yarn, then turn on the other side again. Fine and lustrous on the front and matt on the reverse side, thus forming the richest fabric from an arithmetical point of view. (Motro, 2013)
|
|
|
|
| Plain Weave | Twill Weave | Satin Weave |
Modern machinery uses computer-generated information to produce different weaving. However, these weaving algorithms are not always present in the designer’s and architect’s hands as a design tool. In order to have an in-hand solution of quickly deploying the parametric weaving patterns on to a designated surface, the following Grasshopper algorithm was created.
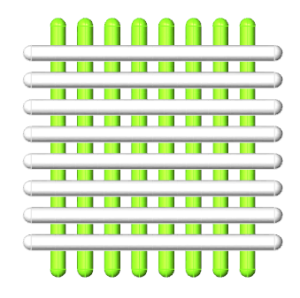
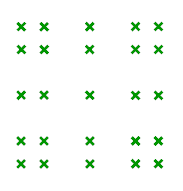
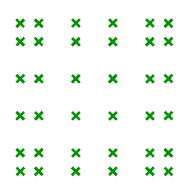
At first, if we can imagine the fabric as a two separate set of yarns in an orthogonal placement (Figure 1). In order to have a woven pattern, each of the warp yarns must go under the weft yarns based on the weaving type (plain, twill etc.). In this regard, the single modular unit will be investigated and a step by step process through the visual scripting Grasshopper plugin for Rhinoceros software will be developed.
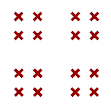
Step 1: Matrix of points
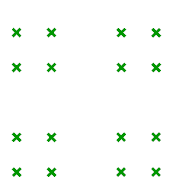
At first, a matrix of points will be created. The outermost distances between the points should be halved since the give modular unit will accommodate only half of the distance until the next unit.
|
|
|
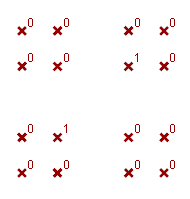
Step 2: Two layers of matrix
The matrix is then copied vertically with an offset distance 1. Now in order to achieve the weaving, some nodes of the lower matrix must be elevated to the level of the higher matrix and the corresponding nodes on the higher one must be lowered. The following part of the algorithm performs the above-mentioned operation.
|
|
|
|
|
|
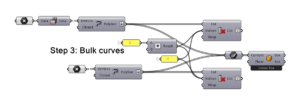
Step 3: Creating bulk curves
Then all the rows of points are connected into polylines. The outer ones are omitted in order to not make any extra polylines in the surface. One of the matrix layers should be flipped in order to give the warp/weft result. A bounding box is also created to serve as a unit measurement for the final mapping to the surface.
|
|
|
Step 4: Mapping cluster
Now a cluster will be made that will take the ready-made woven curves and map them onto a surface. Surface morph component is used here. The surface is divided into subdomains and each of the subdomains receives a mapped geometry. In the end, this creates a continuous woven surface.
|
|
|
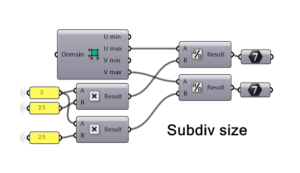
Simple arithmetic steps are placed here in order to define the U and V division counts based on a given size of the fabric modular unit and be quasi-independent from the weaving type used. It is almost independent because in the calculations the floating point numbers are converted to integers so some differences may occur.
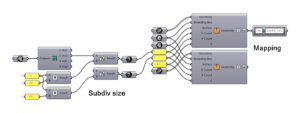
The final algorithm of the mapping is the following. Two clusters are used for separate flows of warp and weft. In the end, one of them is given an altered data tree branch number to keep them separate in the following operations. The graph mapping values are Source: {A}, Target: {path_index+1}.
Step 5: Smooth curves
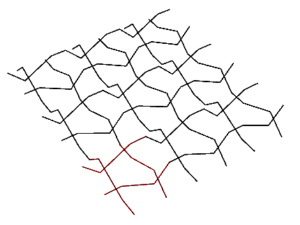
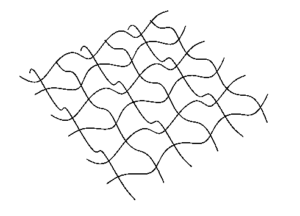
Separate polylines that were mapped into the surface are joined to make continuous polylines, then exploded and converted into interpolated smooth curves. This will more closely resemble the actual appearance of the woven structure.
|
|
|
Step 6: Piping & Color-coding
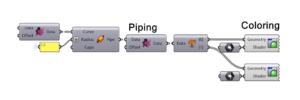
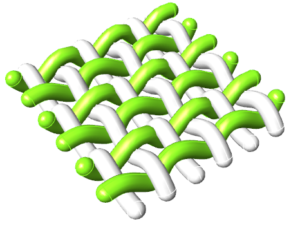
Now when the yarns are ready they can be piped and separated yarns of warp and weft directions can be color-coded for better depiction.
|
|
|
One algorithm for all occasions
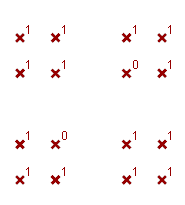
Generally, the computational algorithms are designed to solve not the single occasion of the problem but rather the whole set of the problem In this regard, the given algorithm gives the possibility to easily achieve the different weaving patterns by just adjusting a single number for input. The type of pattern is determined in Step 1.
|
|
|
|
| Plain | Twill | Satin |
This algorithm can be put to a good use in the designer’s hands and serve to quickly generate complex woven structure models.
Alternative method
The above give algorithm is only a situational solution to the problem of automated weaving for design purposes. This method is useful in ways that the designer may focus on the creation of the single modular unit of the woven fabric which later on will be replicated onto the surface to create the continuous weaving pattern. This is the exact manner of an algorithm that can be seen in the projects by (Piacentino, 2018). An alternative method could be the creation of the weaving algorithm without prior creation of a single module but rather by designing the yarn network directly on the surface and mapping the weaving logic throughout the ready-made continuous surface.
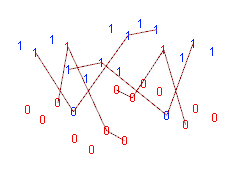
In this alternative scenario, we can divide the surface. Generate the mapping numbers of 0 and 1 accordingly. Repeating the mapping pattern with the length of the U or V direction of the points. Replicate the list with shifting to the number of V or U accordingly. Later flip the matrixes of the numeric values if necessary. Apply the numbers to transform the points on the surface or keep them in place. This operation is done twice with one opposite values to create the warp and weft layers. Then the points can be joint into polylines or curves to form the woven fabric. Note that one of the matrixes here should be flipped. The last part is the usual piping and colouring.
If we evaluate the alternative solution over the main one:
Advantages
- More simple and legible algorithm
- Less calculation time
- Jitter function may be applied to introduce randomness across the fabric
- More accurate UV division
Disadvantages
- Limited to only the solutions of weaving
Each of the presented algorithms provides the solution to the same problem with a slightly different approach. Depending on the context either one of those may be used.
Further developments
The given algorithm brings and interesting prospective for further investigations. By far the common perception about the woven structures relates to elastic materials and fabrics but as it’s been done by (Muslimin, 2010) these type of algorithms can be also applied to rigid materials. Also, the geometric characteristics of the mapped modules are a subject to a further research. Since the final goal is the fabrication, the actual morphological traits may play a crucial role in the final material applications.
Another possible continuation of the research can be also the simulation of the fabric under certain structural conditions. Mostly the structural simulations now are carried at a macro level with no actually modelled conditions of the woven fabric. Though this type of simulation may require a huge amount of computation power, in the end, it may portray some calculation errors inherent to the approximation that is usually performed.
Bibliography
Motro, R. (2013). Flexible Composite Materials. Basel: Birkhäuser Basel.
Muslimin, R. (2010). Learning from Weaving for Digital Fabrication in. Leonardo – MIT Press, 43.4: 340-349.
Piacentino, G. (2018, May 25). Knitting patterns on a surface in Grasshopper. Retrieved from Giulio Piacentino: http://www.giuliopiacentino.com/knitting-pattern/
